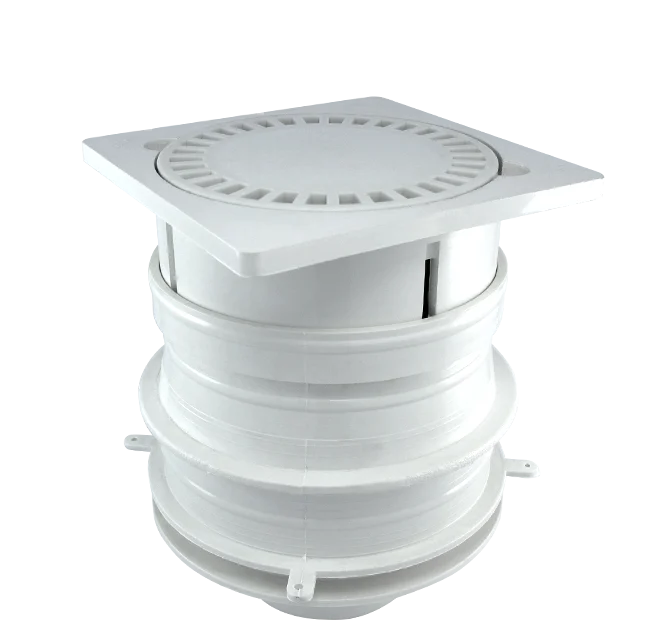
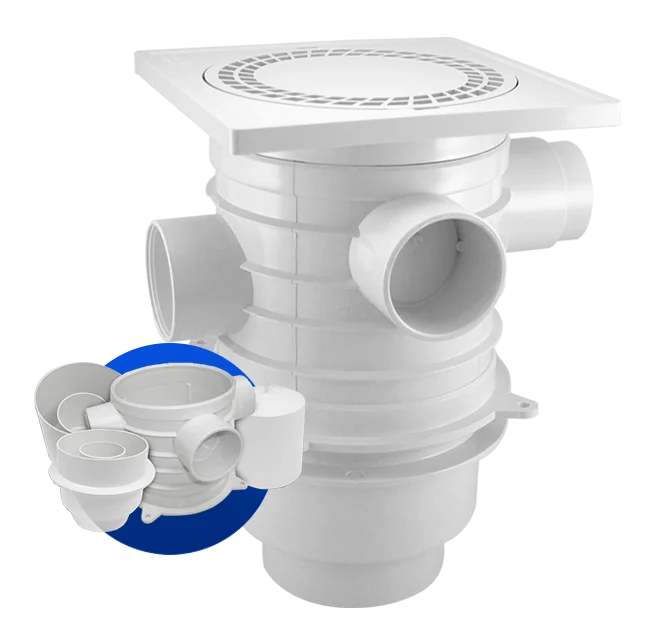
SPIND I Floor Gully/Trap with its ‘True’ top cleaning capability, ease of usage and functionality is popular with many developers, consultants and architects. It is fully certified to SIRIM BS EN1253 K3 Standards (SIRIM Certification No.PS090101).
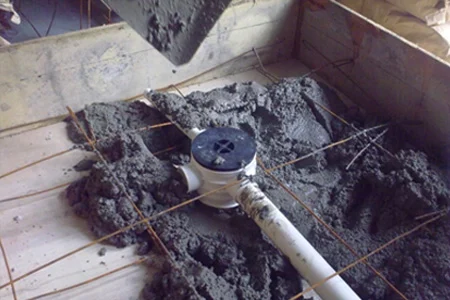
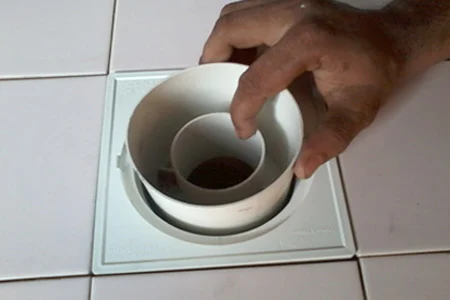
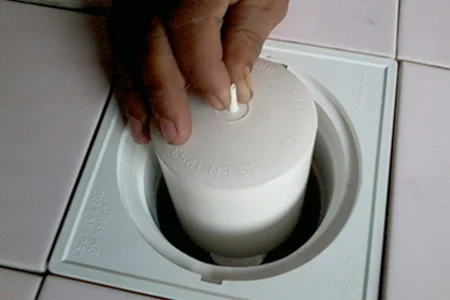
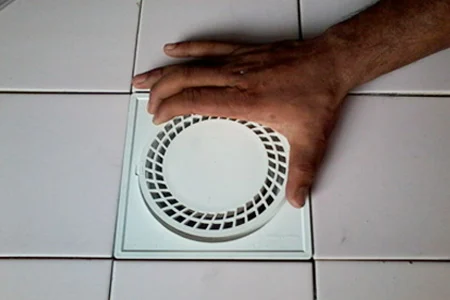
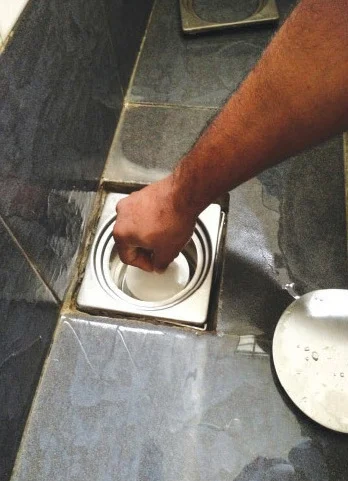
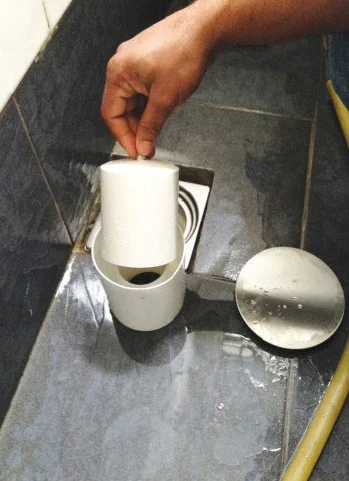
This highly ingenious product allows the trap to be embedded in the floor slab and, at the same time, allows top access for easy cleaning and maintenance. Various grating options allow architects and consultants more flexibility in choosing top finishing and at the same time allow for costing (budgeting) in different projects, eg, medium cost apartments, luxurious condominiums and bungalows
SPIND I trap comes with multiple adaptors, i.e., air-cond discharge adaptor, basin or kitchen sink adaptor and extension pieces for different height connections to suit site conditions. Simplicity in design and modularity in concept allow the trap to be easily used.
Note:
Discharge of air-cond drain pipe into the floor trap may cause condensation on the base of the floor trap or on the pipe leading to the stack. Proper insulation with the use of insuflex is recommended to prevent this problem.
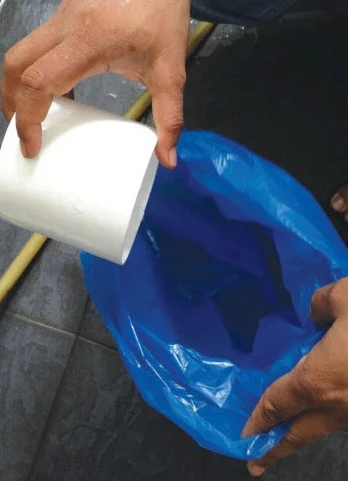
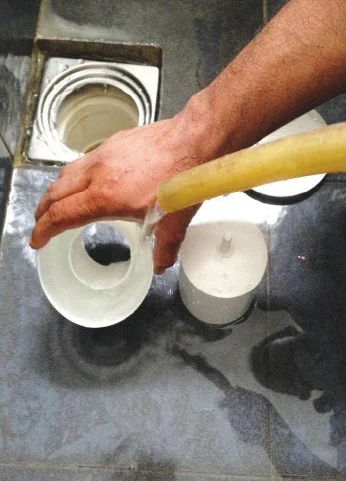
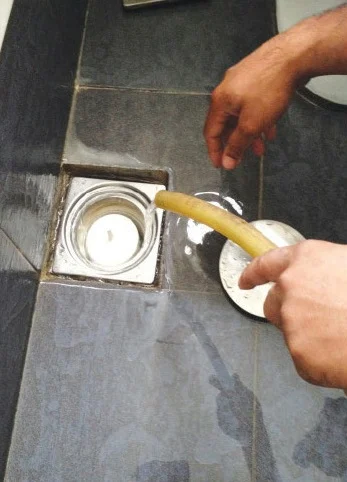
As with previous floor trap manufactured by SPIND MALAYSIA SND BHD, we are once again proud to introduce the new generation cost effective floor trap. The ease of installation & cleaning factor has been the main aim of our company in designing & manufacture of this floor trap.
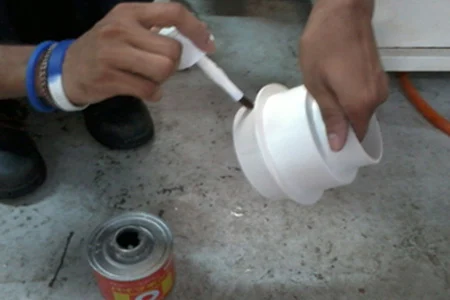
Another first in plumbing industries standard is the Spind pipe sleeve with two 40mm inlet connection that allow for basin or kitchen sink collection. With this new design the conventional pitfall where previously the connection in floor slab from basin was done by a method of crudely cutting a hole in the pipe sleeve is totally eliminated. The Spind pipe sleeve with 40mm inlets allow for a clean & solid jointing using solvent cement to prevent water seepage & dripping commonly associated with conventional connection methods.
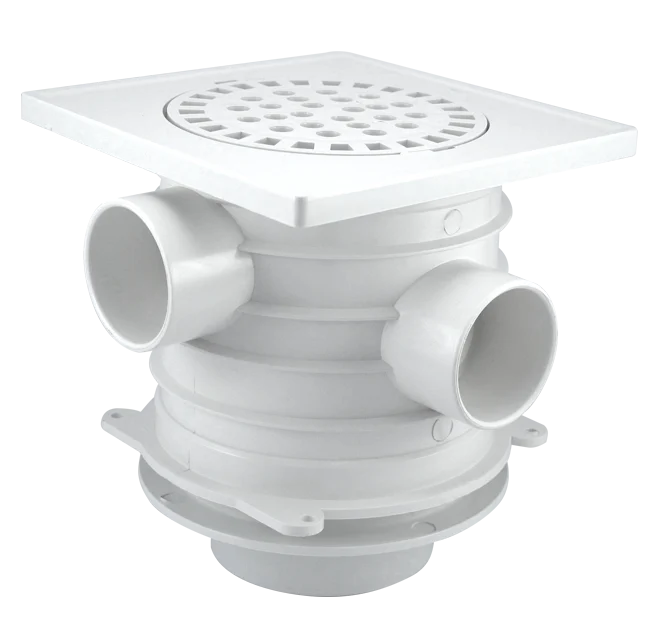
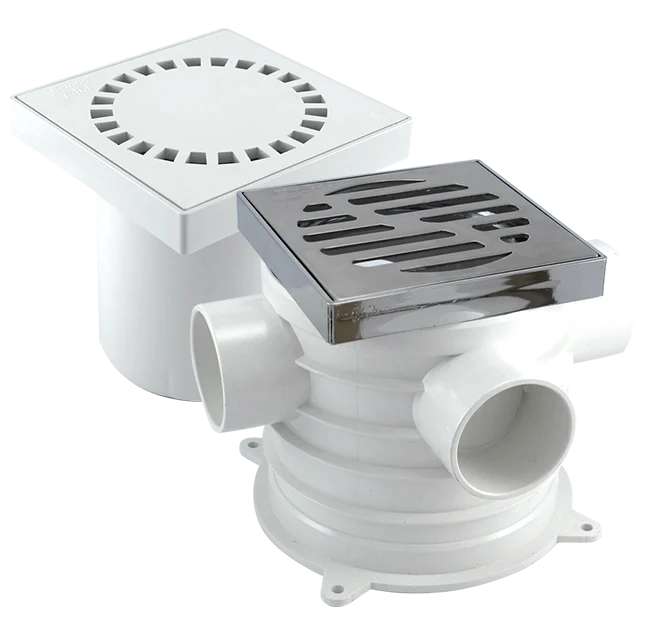
SPIND IV Floor Gully/Trap with its ‘True’ top cleaning capability, ease of usage and functionality has made it popular with many developers, consultants, architects and homeowners. Our Spind products are fully certified to *SIRIM BS EN1253 K3 Standards (SIRIM Certificate No. PS090101).
This highly ingenious product allows the trap to be embedded in the floor slab, and at the same time allows top access for easy cleaning and maintenance. Various grating options allow architects and consultants more flexibility in choosing the top finishing, and at the same time allow for costing (budgeting) in different projects.
SPIND IV trap comes with multiple adaptors, i.e., air-cond discharge adaptor, basin or kitchen sink adaptor and extension pieces for different height connections to suit site conditions. Simplicity in design and modularity in concept allow the trap to be easily used.
SPIND IV Esprit & Elise gratings are applicable to low-cost flat, medium-cost apartments, luxurious condominiums or bungalows. As for SPIND IV, Elise AV prevents vandalism in commercial projects and public amenities. SPIND IV square tile holders for luxurious apartments, condominiums, penthouses, double-storey superlinks, townhouses and bungalows.
SPIND 6 Floor Gully/Trap with its ‘True’ top cleaning capability, ease of usage, and functionality has made it popular with many developers, consultants and architects. Our SPIND products are fully certified to SIRIM BS EN1253 K3 Standards (SIRIM Certificate No. PS112002).
This highly ingenious product allows the trap to be embedded in the floor slab, and at the same time allows top access for easy cleaning and maintenance. Various grating options allow architects and consultants more flexibility in choosing top finishing and at the same time allow for costing (budgeting) in different project eg. Low-cost flat, medium-cost apartments, luxurious condominiums and bungalows.
SPIND 6 trap comes with multiple adaptors, i.e., air-cond discharge adaptor, basin or kitchen sink adaptor and extension pieces for different height connections to suit site conditions. Simplicity in design and modularity in concept allow the trap to be easily used.
(Note: Discharge of air-cond drain pipe into floor trap may cause condensation on the base of the floor trap or on the pipe leading to the stack. Proper insulation with the use of insuflex is recommended to prevent this problem.)
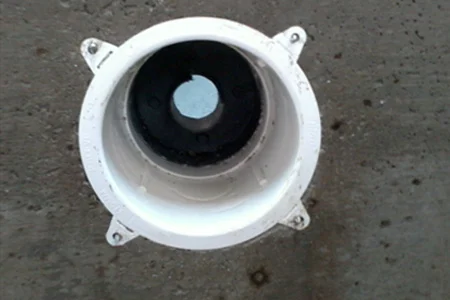
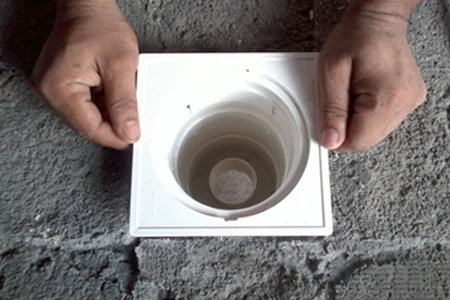
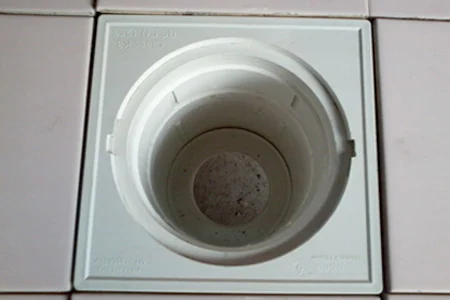
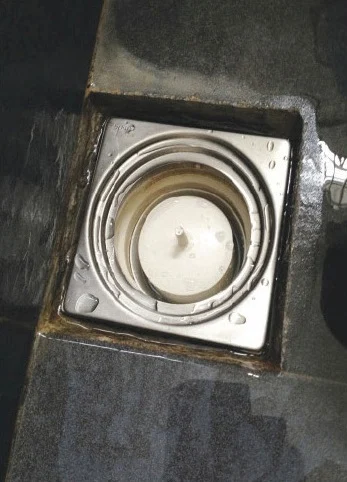
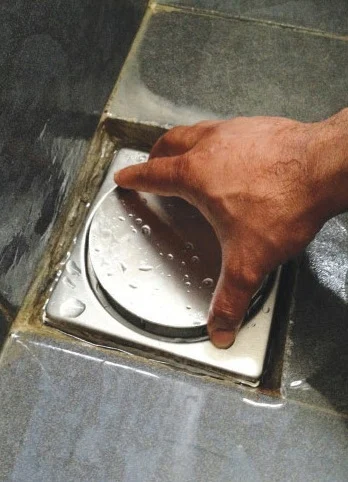
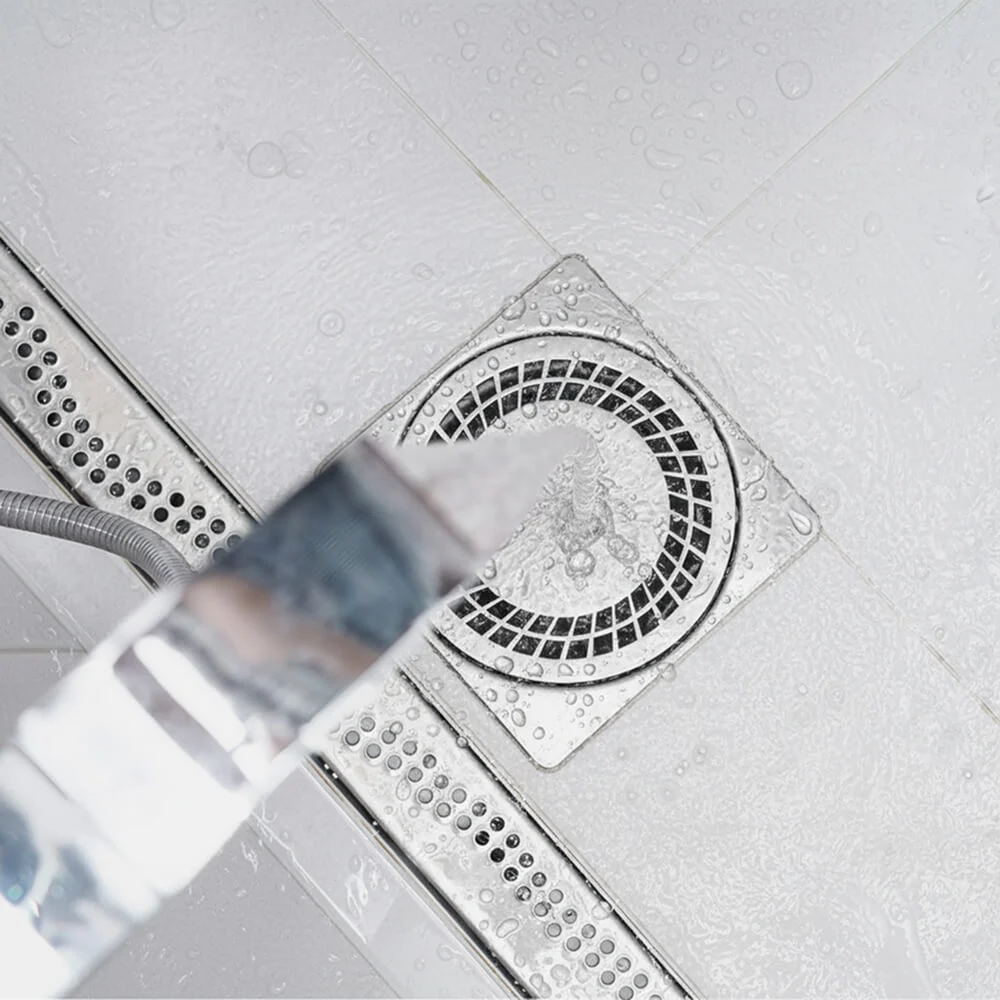
SPIND Mini Floor Gully/Trap – a top accessible floor trap grating to complement our existing range of floor traps. The floor trap is compact yet functional in every sense to allow top access for cleaning and maintenance purpose.
SIRIM BS EN 1253K3 Standards (SIRIM Certificate No.PS112002)
A truly innovative design that is compact for various installations where a conventional (150mm x 150mm) grating may not be suitable or look out of place. This design complements our highly innovative pipe sleeve with its 40mm inlet to connect from kitchen sink or basin without the need to crudely drill holes for connection. With this design, just punch a hole in the inlets provided and solvent cement the joint. No more leakage in future.
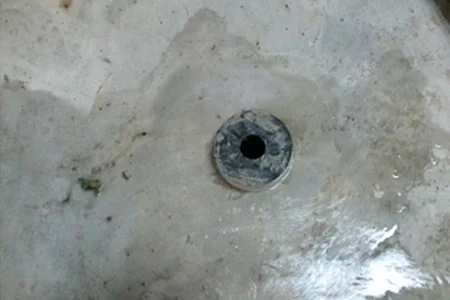
A fully cast in slab design simply allows for more headroom in toilet and at the same time eliminate messy conventional floor traps that protrude below the slab.
View more: UPVC Pipe Malaysia, Bathroom Floor Trap Malaysia
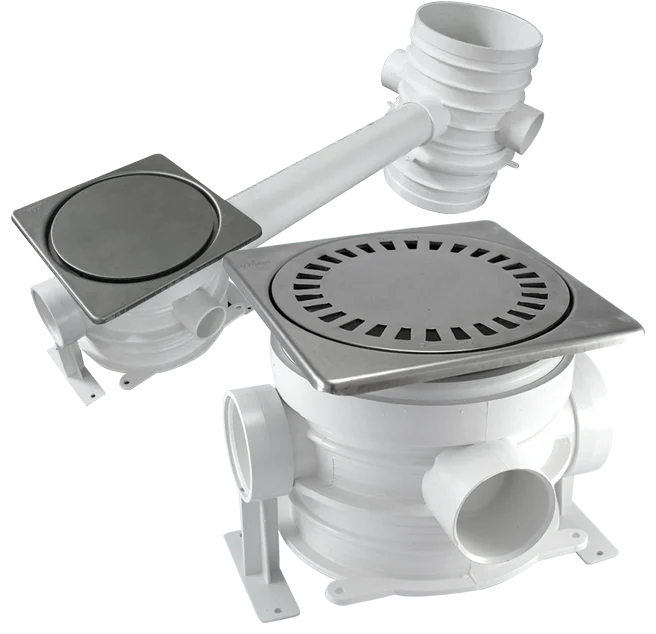
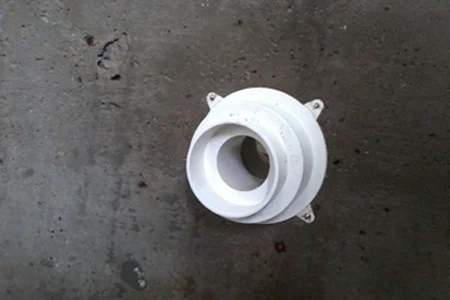
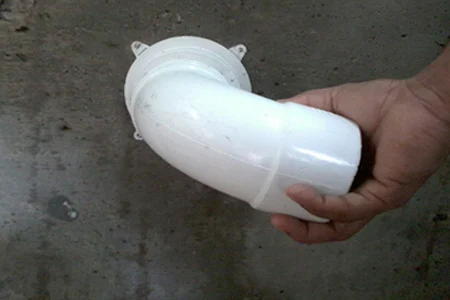
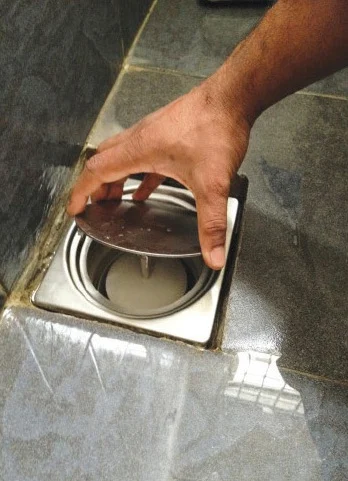
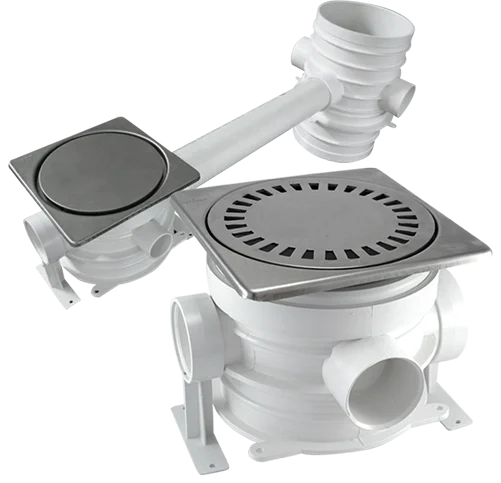
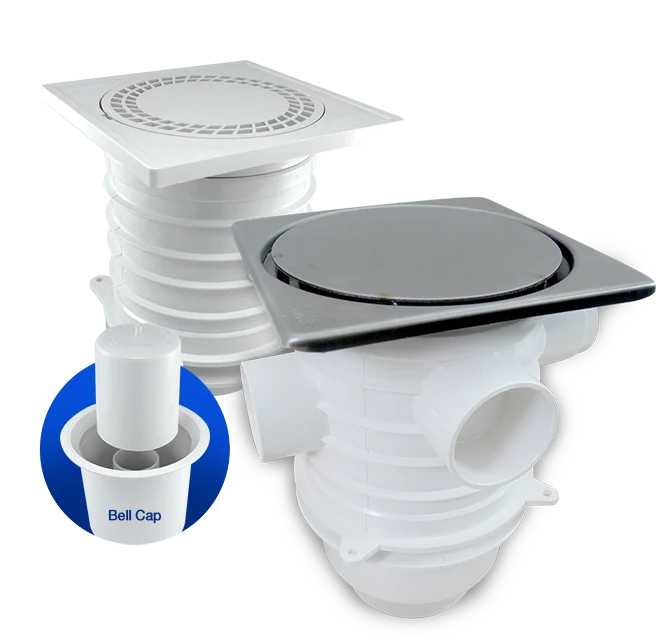
SPIND Side Flow Floor traps are integral part of all buildings in their usage as a waste water discharge system that will trap dirt from entering the SWV pipe and at the same time providing a trap seal to prevent foul gases, rodents and insects from entering back into buildings. SIRIM BS EN 1253K3 Standards (SIRIM Certificate No.PS112002)
Conventional floor traps usage in our current situation warrants us to clean or dislodge any blockage in trap from the floor below, which will cause inconvenience and its messy installation will deprive head room in toilets.
Spind is proud to present our fully cast in slab design trap that will overcome all these drawbacks and can be easily accessed and cleaned from the top.
Our design allows the basin or kitchen sink to be connected directly to trap. The trap itself has a 2″ outlet that is more than sufficient to allow for flow rates in bathrooms.